April 21, 2025 04:43 Created by Rajesh Kumar Yadav, Last modified on April 21, 2025 04:35
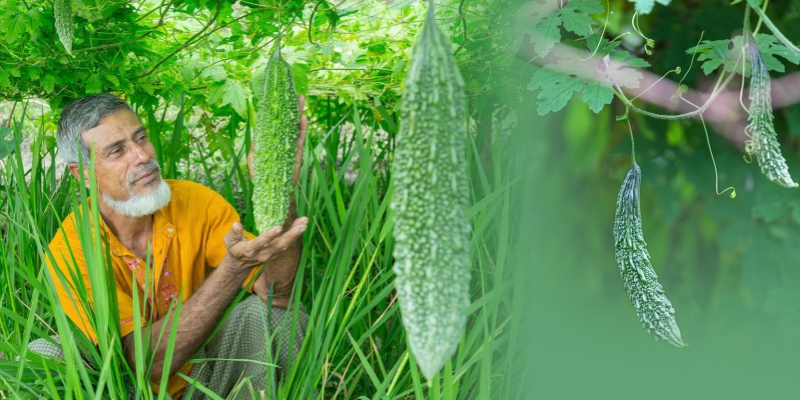
Hello, farmers! In the previous edition of our newsletter, we discussed how to use Galway Krisham Products for cultivating vine-grown vegetables. In this edition, we will focus on bitter gourd also known as Karela farming and explore how our farmer brothers can grow it effectively to achieve a healthy and high quality harvest.
Essential Steps for Cultivation and Field Preparation:
The first and most crucial step in bitter gourd farming is soil treatment. To ensure a nutrient-rich foundation, mix 100 to 150 kg of well decomposed cow dung manure with 1 liter of G-Bio Phosphate Advance per acre. Let this mixture sit in the shade for 24 hours, then spread it evenly across the field before plowing. This process enhances soil fertility and prepares it for optimal crop growth.
Seed Treatment: There are two methods for treating bitter gourd seeds before sowing:
1. Water Treatment
2. Dry Treatment: If the seed size is similar to or smaller than wheat grains, it is recommended to treat them without using water. For this, mix 10 ml of G-Bio Phosphate Advance with 1 kg of bitter gourd seeds, let them dry in the shade for 30 minutes and then proceed with sowing. Because Proper seed treatment ensures better germination, disease resistance, and a high-quality yield.
Application of Fertilizers for Cultivation:
1. At the Time of Sowing: To ensure a strong foundation for crop growth, apply DAP as required, and mix it with 10 kg of G-Sea Power + 4 to 8 kg of G-VAM per acre. Spread this mixture evenly in the field before sowing. For pot cultivation, use 50-100 grams of G-Sea Power and 40-80 grams of G-VAM per pot.
2. Days After Sowing: After 20 days of sowing, enhance soil fertility by applying urea mixed with 10 kg of G-Sea Power + 200 ml of G-Sea Liquid + 200 ml of G-Bio Humic per acre. For pot cultivation, mix 50-100 grams of G-Sea Power + 5 ml of G-Sea Liquid + 5 ml of G-Bio Humic per pot.
During the Flowering Stage (40-45 Days After Sowing): When 60-70% of the flowers appear, prepare a solution by mixing 10-15 ml in 15 liters of water and spray it evenly on the plants. (For potted plants, mix 3 ml in 5 liters of water).
During the Fruit Development Stage: Prepare a solution by mixing 10-15 ml of G-Amino in 15 liters of water and spray it on the plants. (For potted plants, mix 3 ml in 5 liters of water).
Note: Similarly, bitter gourd, bottle gourd, beans, etc., can also be grown in pots. However, the quantity of fertilizer required differs for potted plants. Additionally, it is essential to consider weather and temperature conditions for optimal growth.
Additional Tips for Bitter Gourd Cultivation
Trellis Method: Use the trellis method to provide support for the plant to climb, which helps improve yield and overall plant health.
Seed Treatment: Before sowing, treat the seeds with a fungicide like Capton to prevent fungal infections.
Plant Spacing: Maintain a distance of 2-3 feet between plants to ensure adequate space for growth and proper air circulation.
Timely Harvesting: Harvest bitter gourds when they are still tender to maintain their quality and taste.
Crop Rotation: Incorporate bitter gourd cultivation into a crop rotation system with other crops to preserve soil fertility and prevent pest build-up.
Early Harvesting: Sowing in February-March allows harvesting in May-June, ensuring an early yield.

